Making your own DIY candle wick is a great way to save money and have fun. If you’re reading this, you’ve probably been looking for information on how to make your own candle wicks.
A candle wick is an essential part of a candle. It is responsible for making the candle wax burn down evenly and slowly, thus creating better burning candles with more fragrance.
A candle wick is made up of woven or braided threads. Usually, cotton but hemp and wood are becoming more common. A candle wick hold and feed the flame of a candle or oil lamp.
Making a DIY candle wick is very easy and simple. If you followed all necessary safety precautions while working on your own DIY projects, there should be no issues.
There are couples of reasons why people want to know how to make DIY candle wicks. Maybe they cannot find the right type of candle wick in local stores, or perhaps they just want something more personal and unique for their DIY projects.
No matter your reason, it’s never too late to learn how to make DIY candles wick.
Choosing the right DIY candle wick
So, let’s get started first with does it matter what kind of wick you use? Well, of course, it matters. If you are making a DIY wicked candle, then the material of your candle wick will affect how good and how long your DIY candle lasts.
Wooden candle wicks have a lower melting point than cotton or paper candle wicks do, so if they get too hot for some reason, they can melt. So, be sure to only burn candles in an area where they are unlikely to come into contact with anything that can get them too hot!
As for how do you know if you are using the wrong candle wicks? Well, there is no easy way of knowing other than testing out different candle wick types and seeing how long your DIY candle wick lasts. You can get candles to last only a few minutes, or you could have candles that last up to several hours! It all depends on what type of candle wick you are using and if it’s suitable for the DIY project.

There are some other factors to think about when choosing the right candle wick for your DIY project.
These factors include:
Safe and Non-toxic
Before you choose a material for your DIY candle wick, it’s best to consider non-toxicity. Candle burnning can be dangerous if the materials are not safe and toxic!
Always think about safety first when choosing your DIY candle wick type to avoid any accidents or injuries.
Diameter of jar
The diameter of your container will affect how big to make your candle wick. If you are making a small DIY candle in a round mason jar, you might want to use something very thin like hemp or paper for wicks that produce lots of bubbles and possibly smoke when burned.
In contrast, if you are using a large glass container, you should go with a thicker candle wick that will burn evenly.
Candle size
The size of your candle wick will affect how long your DIY candle lasts. Generally, the bigger the candle you are making, the thicker and more substantial your DIY candle wick should be.
In addition, if you are making candles that have a larger surface area, then thicker candle wicks will help your candles burn down more evenly.
Stiffness
Many candle makers use a fine wire (a core) that keeps the wick in place, whereas others utilize a small metal stem called a “core.” This metal stem or core is helpful to keep the wick straight and not flop about.
Now, let’s talk about different types of candle wicks.
Different types of DIY candle wicks
There are many types of DIY candle wicks available. Each type is designed for different purposes, and they all have pros and cons that you must consider before using them in your candles!
The majority of today’s slow-burning candle wicks are braided, plaited, or knit fibers, so their burning time lasts longer, and they produce a straight candle flame.
You can use some of the following most frequent materials in making the candle wicks.
1. Cotton wicks
The most popular type of candle wick is made of cotton. They have a relatively quick burning speed and do not last as long as some other types of candles, but they give out good light for their price.
Cotton is an inexpensive material, making this option very popular among beginners who want to make DIY candles with different materials before buying expensive supplies from local stores.
2. Paper Core wicks
Paper core wicks burn slowly and steadily, without smoke or foul odors, making them an excellent choice for many projects! Although, this material is not as sturdy as some other types; and it can easily break if you do not use them correctly.
3. Wooden wicks
Wooden wicks are simple to use and work well with most waxes, mainly soy wax. They produce a unique crackling sound when burning, which many people find calming and soothing, but they can be expensive to buy online or at craft stores.
They burn fast as compared to other types of candle wicks. In addition, a wooden wick is rigid in nature. Hardwood and softwood are the two primary varieties of wooden wicks. It’s the softwood wicks that give out that cozy crackle and pop here and there as the candle is burning.
4. Zinc core wicks
Zinc core wicks are created with a zinc metal filament wrapped in cotton. They last longer than wooden or paper candle wicks, and they burn at a steady rate without smoking too much, but they do not produce as bright of light as some other types of DIY candles. You can use these wicks in tealight, votives, and container candles.
5. Hemp wicks
Hemp wicks are made from pure hemp, and they burn very slowly, making them a popular choice for DIY candle making. It is obtained from the hemp plant and is commonly coated with beeswax to make them more efficient.
They also produce less smoke than many other types of materials, so you can use them in beeswax candles without fear of having the room fill up with foul odors!
Making candles with DIY candle wicks
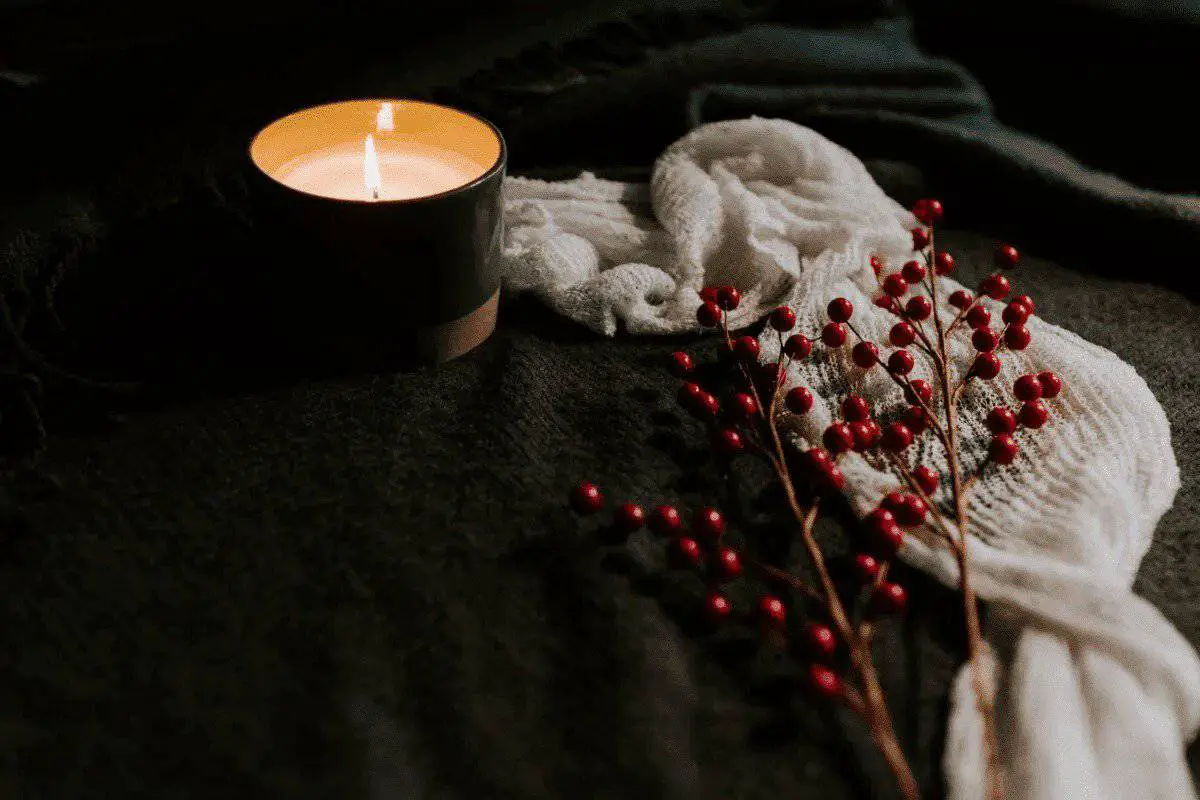
A candle gives a very cozy feel to the room. Candle brings a very soothing flicker of light that relaxes the eyes after a long day.
Thousands of candles are available on the market, but nothing can beat making DIY candles at home with your own hands! You can choose your favorite candle wax, fragrance, wick, and jar to make a DIY candle at home!
Wicking your candle is considered one of the most challenging aspects of candle making, but it is also one of the most crucial.
Preparing homemade wick for candles is not as hard as it looks because DIY candle wick can be made from various materials.
Wax and cotton thread cord are two simple materials that can be found in every home. You just need some soy wax and cotton thread cord to construct a candle wick. The procedure for making candle wick is quite simple and can be completed in a few minutes.
These projects are simple, enjoyable, and suitable for use in any room of your house or as presents to family members and friends!
1- Making DIY candle wicks with cotton string
Cotton strings are readily available and cheap to purchase. They burn slowly, so they can be used for small DIY candles like votive or container DIY candles that emit light over a long period. Make sure the string you use is 100% pure cotton.
Material needed to make DIY candle wick with cotton string
- Wax flakes
- Wick tab
- Cotton twine
- Tongs
- Scissors
- Pliers
- A wax melter
Measure wick length
To make your wick, you must first decide how thick and lengthy you want it to be. For medium-sized pillar candles, the wick length should be one and a half times the diameter of candle.
For DIY candles with wide circumference, you need to increase the measurement accordingly. Use a scissor to cut the cotton string into desired lengths for your homemade DIY candle wicks.

To make a single wick take the cotton twine three inches longer than the candle’s height. Moreover, for making a braided wick take three equal lengths of twine. It is recommended to take four inches longer twin than the candle’s height.
Melt the wax
Now, in a double boiler or wax melter, melt your soy wax flakes. Make sure the candle wax is completely melted and mixed thoroughly before you begin dipping your DIY candle wick into it.
Dipping the twine
Dip twine into melted wax with the help of a tongue. Using a tong helps keep the DIY candle wick in place while you dip it into the melted wax. Make sure the DIY candle wick is completely dipped and coated with wax to seal.
Allow wicks to dry
Remove the wick from the wax (tongs if you fully submerged the twine) and hang to dry after removing it.
Try to hang them straighten because when the wax has cooled, DIY candle wick will bend. Diy candle wicks need to dry for about an hour.
After candle wicks are completely dried, your DIY candles with cotton string are ready to use!
Repeat the process
Repeat the wax coating process several times to get the desired thickness.
Attach twine with a wick tab
When DIY candles are completely dry, you can cut DIY candle wick with scissors or a knife approximately one inch above the wax surface and attach a wick tab using a plier. For making the wick more secure, thread the twin through the wick tab and twist tightly.
Congratulations, DIY cotton wick candle is ready to use
Here we go, your homemade cotton wick candle is ready to use. Keep them in a safe and cold place until your next DIY candle project. This homemade DIY candle wick produces light for a long period.
With the above process, you can make your soy candle wicks easily at home with little effort. You don’t need to purchase expensive store-bought DIY candles anymore!
2. Making DIY wooden candle wick
Wood wick is not only cheap and readily available but also produces a lot of heat. Wooden candle wicks have a beautiful crackling sound when they burn. In addition, wooden wick candles are eco-friendly and long-lasting.
Reasons to use a wooden wick
You don’t need to coat the wood wick with wax. Wooden DIY candle wicks can be easily made by using natural twigs or branches from a tree. People usually use cherry, balsam, rosewood, oak, maple, or birch twig for making wooden candle wicks.
They look more beautiful and efficiently cooperate with all types of wax and fragrance oil. On top of that, you dont require any tools such as tong, wick clip, or clothespin.
Wood wick produces an incredible hot throw in the scented candle. You can enjoy the great smell of your favorite wood burning and crackling sounds with the fragrance of essential oil of your choice. It’s like a double treat for you to enjoy.
You can easily make a wood wick candle at home using the following method:
Steps for making wooden DIY candle wicks:
Collect or buy wooden twigs
Cut twig to desired length and thickness as per your need. Make sure that it is strong enough so it does not break while burning DIY wooden wick candles. You also don’t want pieces to splinter off into your DIY wood wick candle, making it unsafe.
Drying wooden twigs
An important step is to dry out the branches completely. To do so, you can keep them in direct sunlight or near a fireplace for a few days. You need to make sure that they are dried from inside and outside before using them for making a DIY candle wick. Wet or moist wooden sticks will produce a lot of smoke when lit.
Measuring wooden twigs
Measure the twig carefully, and it should be 1 inch taller than the candle jar or container you will use for making your beeswax candles.
Soak wooden twigs
You can use any twig for making a DIY candle wick. Soak the trimmed twig in coconut oil or olive oil for at least 20 minutes. Olive oil burns cleanly, making it an ideal choice for the candle maker.
Although wood is combustible on its own, applying oil to the wood before igniting it will allow the fire to spread faster and more evenly. You can skip the soaking process, but it gives better results.

Absorb excess oil
After soaking the twig in oil, wipe off any excess olive oil. You don’t want to add extra moisture and potentially create a dangerous situation by having too much liquid around your DIY candle wick. On a kitchen towel, place a wooden twig and let it dry.
Attach twig with a wick tab
Take a metal wick tab and insert a soaked wooden twig into the opening. Push the wick as far as it will go into the tab. The wick tab will keep the wood in place as it sits within the melted wax throughout the candle-making procedure.
Congratulations, the wooden DIY candle wick is ready to use
See, how simple is that. Your homemade wooden-wicked candle is ready to use. This eco-friendly and sustainable wooden DIY candle wick is an excellent gesture to the environment.
If you want to store the wooden candle wicks for future usage, wrap them up in a plastic bag or cotton bag. You can store them in a cold and dry place until needed. It will prevent mold from growing on the wood and keep it dry and ready for use.
3- Making DIY candle wick with borax
Isn’t it amazing to use borax for making candle wick? Yes, it is. Making a DIY candle wick with borax is a unique way, but it has some bright sides.
Borax gives the brighter light and more hot throw that DIY candle burning. In addition, it provides superb rigidity to the wick, so it won’t curl or fold over. Borax is used as a detergent and can be found in many grocery stores or your laundry room.
Material needed to make DIY candle wick with cotton string
- Borax powder
- Salt
- Wax
- Twine
- Double boiler
- Tonge
Steps for making DIY candle wicks with borax:
Make a mixture of borax and salt
Boil 1 cup of water and add borax powder(3 Tbsp). Bring it to boiling temperature. Stir until it dissolves. Furthermore, borax may also decrease the amount of ash and smoke generated by burning.
Dip the Twine
Now pour borax and salt solution into a glass or bowl. Dip the cotton string into it for 24 hours. You can leave them in the borax solution for 20 minutes but not less than that. Soaking twin into a borax solution for 24 hours gives perfect results every time.
You can use jute or twine to make a Candle wick with borax. It is good to use food-grade twine because it will be around your mouth and nose while you are burning dipped candles. If there is any toxic substance in the string, it can be hazardous for you.
Drying the twine
Allow the borax cotton string to dry completely before continuing with this project. You can hang it or put it in a warm place until thoroughly dried out by using a tong. Borax is anti-fungal, so your homemade candle wick should not mold while drying.
Keep in mind; if there is any moisture left on your Cotton string, it will produce a lot of smoke when lit.
Hang the treated rope in a warm, dry place using a clothespin. Place a piece of paper or aluminum foil beneath the drying twine to catch any remaining.
Melt wax for another coating
In a double boiler setting or saucepan, melt the candle wax carefully. Hot wax is very dangerous. So before you melt the wax, make sure to take precautions.
Set it aside and cool slightly so that the string doesn’t burn when placed in the molten wax.
Dip the borax-treated wick into melted wax, ensuring all of it is covered by an even layer of hot wax.
Although you can use borax-treated wick as it is, the additional wax coating gives it strength and stiffness so that it does not curl or bend.
Let the twine dry completely
Now with the help of a tong, pick the twine from hot wax. Hang it as you dried it after treating the borax solution.
You should wait until the wax is completely cooled before hanging. If you hang it while still warm, some of the melted wax will run down and ruin your work. Don’t worry if a little waxy residue coats the twine after dipping in hot candlewax. This just means that borax treatment worked well to prevent any mold.
Remember again; if there is any moisture left on your Cotton string, it will produce a lot of smoke when lit. The greatest approach to avoid mold development is to ensure that the twine or jute pieces are completely dry before igniting them in a DIY candle.
Congratulation, borax treated DIY candle wick is ready to use
It is a lengthy process to make borax treated DIY candle wick. It is a quite lengthy and troublesome process, but it is worth it. The best thing about borax-treated string wick for DIY candle making is that you can make your custom candles with the colors and fragrances of your choice.
Your DIY borax-treated candle wick is ready to use. You can store them in a cool and dry place till your next candle project.

Make your candle wick last longer with these simple tricks
There are several ways to make your homemade candle wick last longer.
Trim the wicks
You can make a DIY candle wick last longer by trimming the wick. You should trim your candle wicks while burning them at all times. If you let them get too long without trimming them, they will burn faster than if you had kept up with it.
Keep the wax pool clear
Another way to make your homemade candle wick last longer is by keeping the wax pool clear of any debris. Debris that sticks to the side of your container or melts into the melted wax can cause uneven burning, which will shorten how long you can burn it. It also causes excess soot and smoke, which affects not only the burn time but also the overall look and smell of your candle.
Make sure to keep an eye on how long you are burning it for
If you want to make a homemade candle wick last longer, be mindful of how long you let them burn at once. If they get too hot or stay lit without any movement from the wick, they will melt the wax pool too low and shorten how long your candle can burn.